Guide to Install Ridge Vents
By Luke Wilson
Ridge vents have small openings for air to escape from the interior to the exterior of a home or a building. They are installed at the peak of the roof. These vents permit humid and warm air to naturally flow upwards out of the attic space. In commercial spaces, such as warehouses, ridge vents improve circulation of fresh air by allowing the hot air to escape through the top of the structure.
Why are Ridge Vents Important/Needed?
A quality ridge vent installation works along with soffit and gable vents in residential roofing to naturally create a flow of air circulation in an attic. Without ridge vents, moisture in the air can condense on slightly cooler surfaces. This moisture may eventually build up enough to cause water damage by leaking down into the home below.
In commercial buildings, especially metal ones, ridge vents reduce condensation that may cause rust and/or corrosion that degrades the metal over time. Another benefit that comes from installing ridge vents is that a cooler upper air space improves the efficiency of air-conditioning systems for the interior of the building or the home.
Preparing for Ridge Vent Installation
Ridge vents work in combination with soffit vents and gable vents. Soffit vents are more effective than gable vents in increasing air circulation throughout the entire attic space. If these vents are not present the roof ridge vent will be ineffective. They can be installed before or after the ridge vent in order to have a properly functioning system.
Improvement Services?
Removing Cap Shingles
The first step in a ridge vent installation is to remove the existing ridge cap shingles. Enough shingles need to be removed along the entire ridgeline in order to make room for the ridge cap vent installation.
Removing Wood Sheathing
The saw-cut lines are marked on the wood sheathing by using chalk snap-lines to make sure they are level and to match the openings desired for the ridge vent. It is important that the measurement of the open space is accurate and sufficiently large enough (not less than one-inch wide) to allow air to escape through the ridge vent.
Any nails that interfere with the saw-cuts are removed. The saw-cuts are made carefully to be as precisely accurate as possible. The depth of the saw blade is set to only cut through the wood sheathing and any remaining shingles and not to cut through any portion of the support structure such as the roof trusses or the ridge board.
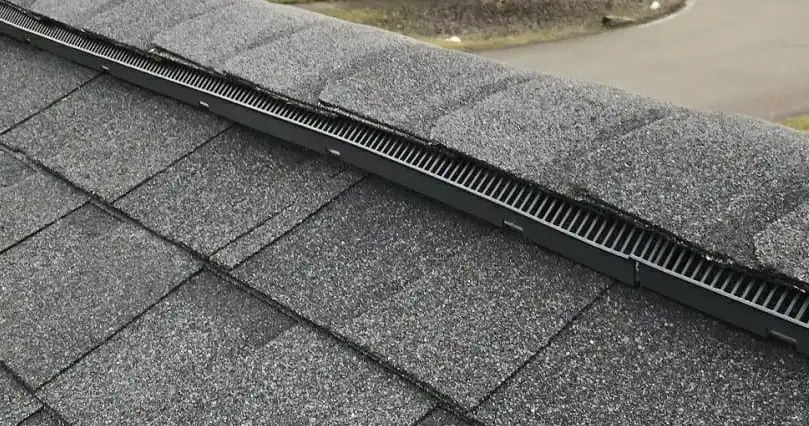
Ridge Vent Installation Over Shingle
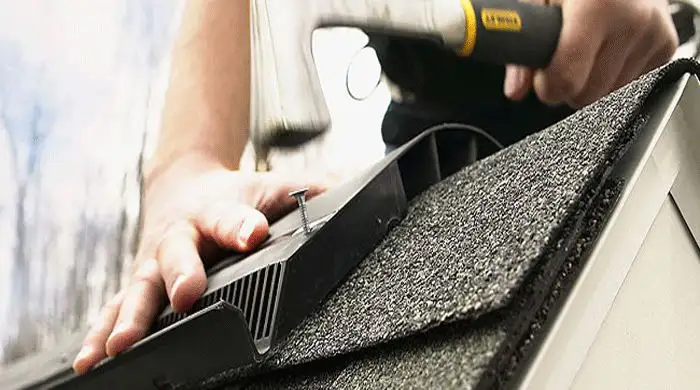
There are two types of ridge vent systems that are installed over shingles. They are a shingle over the ridge vent or an aluminum ridge vent cap. Both systems require the same creation of the ridge vent openings as described in the steps above.
The difference between the two systems is that with a shingle over the ridge vent system, shingles are used to cover the ridge vent. These shingles match the other shingles used for the roofing materials. An aluminum ridge vent cap is meant to be a finished installation and it is not covered with shingles. The choice between these two options is a matter of aesthetics and construction budget.
Ridge Vent Installation Over Metal
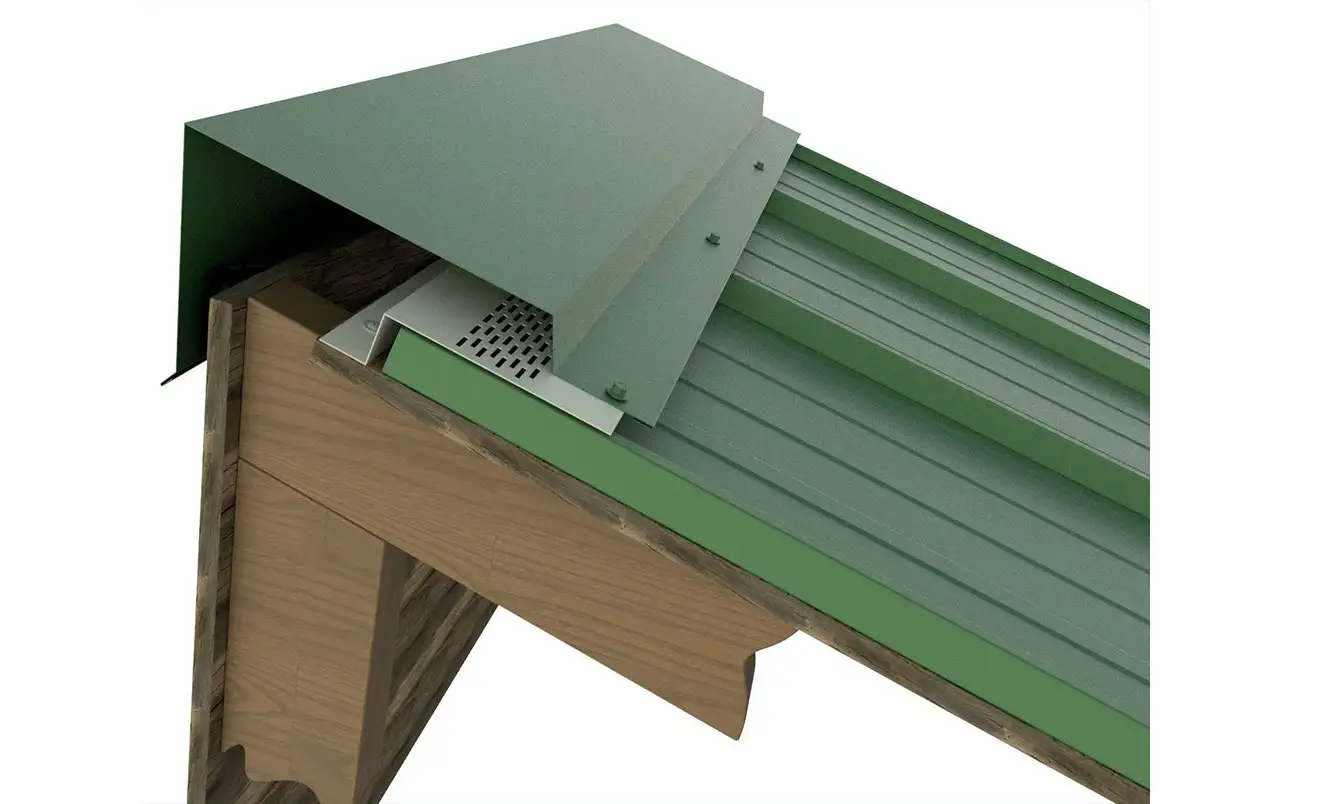
Ridge vents for metal roofs come as kits that contain connectors and end plugs. Proper installation of these connecting and finishing pieces makes sure the ridge vent is watertight and no pests can enter the attic space. For metal roofs, the ridge vent is secured over the proper opening by using adhesive and self-tapping metal roofing screws with metal washers to firmly hold everything in place that also have a neoprene gasket to prevent water leaks.
The steps are:
- Place the metal roof vent on the roof peak and use it to mark each edge on the roof. Remove the metal roof vent and cut the openings in the correct place leaving at least one-inch of metal roofing under the ridge vent for the placement of adhesive.
- Place the adhesive strip along the line that will be under the ridge vent
- Place the ridge vent in position.
- Secure everything using the self-tapping metal roofing screws that are tightened until the neoprene gasket is pressed out underneath the metal washers.
The benefits of having a ridge vent for residences and commercial properties are significant. A quality roof vent system, which includes a ridge vent, is part of a complete roof installation that every property needs to have for the best results.